Minolta SRT 101 Instruction Manual: A Comprehensive Guide
Welcome! This guide offers detailed instructions for the Minolta SRT 101, covering operation, features, and maintenance. Explore PDF resources, repair manuals, and lens information for optimal use.
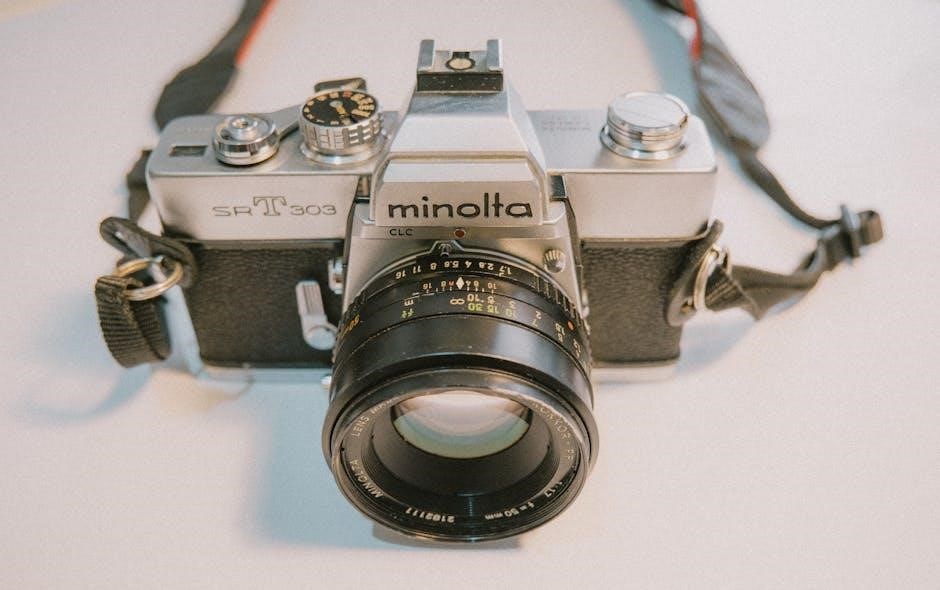
The Minolta SRT 101, a cornerstone of 35mm SLR photography, debuted in 1969 and quickly gained popularity for its reliability, accurate through-the-lens (TTL) metering, and exceptional build quality. This camera represents a significant step forward in accessible, professional-level photography, offering features previously found only on more expensive models.
This instruction manual aims to provide a comprehensive understanding of the SRT 101, guiding both novice and experienced photographers through its operation. Whether you’ve recently acquired this classic camera or are looking to rediscover its capabilities, this resource will cover everything from loading film and setting exposure to utilizing external flash and performing basic maintenance.
Numerous resources are available online, including detailed PDF manuals and service guides (like those found at cameramanuals.org and acuravigorclub.com). These resources, alongside this guide, will empower you to fully utilize the SRT 101’s potential and appreciate its enduring legacy in photographic history. The SRT 101 remains a fantastic choice for those seeking a tactile, mechanical shooting experience.
Understanding the Camera’s Key Features
The Minolta SRT 101 boasts several key features that contributed to its success. Central to its functionality is the TTL (Through-The-Lens) metering system, providing accurate exposure readings directly from the lens. This system, coupled with a match-needle display in the viewfinder, simplifies achieving correct exposure.
The camera features a horizontally-traveling cloth focal plane shutter, offering speeds from 1 second to 1/1000th of a second, plus Bulb mode for long exposures. Interchangeable lenses, utilizing the Minolta SR mount, expand creative possibilities. The SRT 101 also includes a self-timer, useful for group shots or when camera shake is a concern.
Its robust mechanical construction ensures durability and reliability, even after decades of use. Access to service manuals (available online as PDFs) allows for potential repairs and maintenance. Understanding these core features – the TTL metering, shutter speeds, lens compatibility, and build quality – is crucial for maximizing the SRT 101’s photographic potential and appreciating its design.
Loading Film into the SRT 101
Loading film into the Minolta SRT 101 is a straightforward process. First, locate the film rewind knob on the left side of the camera and lift it upwards. Then, open the back cover by sliding the latch on the right side. Insert the 35mm film cassette into the film chamber, ensuring it seats correctly.
Pull the film leader across the camera body and insert it into one of the slots on the take-up spool. Advance the film winding lever a couple of times, checking that the film is properly engaged and advancing smoothly. Close the back cover securely, ensuring it latches firmly.
Continue winding the film and using the rewind knob to ensure the film is tightly wound on the take-up spool. The frame counter will automatically indicate the number of exposures taken. Always remember to rewind the film completely before opening the camera back to avoid losing your images. Proper loading ensures successful shooting!
Setting the Film Speed (ISO/ASA)
Accurate film speed setting is crucial for proper exposure with the Minolta SRT 101. Locate the ISO/ASA dial, typically situated around the shutter speed dial. This dial allows you to synchronize the camera’s light meter with the sensitivity of the film you’re using.

Gently rotate the dial until the desired ISO/ASA value aligns with the indicator mark. Common film speeds include 100, 200, 400, and 800. Ensure the setting precisely matches the film’s actual speed, as indicated on the film canister. Incorrect settings will lead to under or overexposed photographs.
The SRT 101’s meter relies on this setting to calculate the correct aperture and shutter speed combinations. Double-check the setting before each roll of film, especially when switching between different film types. Remember, setting the correct ISO/ASA is a fundamental step towards achieving well-exposed images consistently.
Understanding the Shutter Speed Dial
The shutter speed dial on the Minolta SRT 101 controls the duration of time the camera’s shutter remains open, exposing the film to light. This dial is typically located on the top of the camera body and is marked with a series of numbers representing different shutter speeds.
These speeds, often ranging from 1 second to 1/1000th of a second, dictate how motion is captured. Slower shutter speeds (e.g., 1/30, 1/60) are ideal for low-light conditions or creating motion blur, while faster speeds (e.g., 1/250, 1/500) freeze action. The ‘B’ setting allows for bulb exposures, keeping the shutter open as long as the shutter release button is pressed.
Understanding the relationship between shutter speed and light is vital. A slower speed lets in more light, but increases the risk of blur. A faster speed reduces light intake but freezes motion. Experimenting with different speeds will help you master creative control over your images.
Aperture Control and Depth of Field
Aperture control, managed by the lens’s aperture ring, regulates the size of the lens opening, influencing both the amount of light reaching the film and the depth of field – the area in your image that appears acceptably sharp.
Aperture is measured in f-stops (e.g., f/2.8, f/5.6, f/16). Lower f-numbers (like f/2.8) indicate a wider aperture, letting in more light and creating a shallow depth of field, ideal for isolating subjects with blurred backgrounds. Higher f-numbers (like f/16) mean a smaller aperture, less light, and a greater depth of field, keeping more of the scene in focus.
Mastering aperture is crucial for creative control. A wide aperture is excellent for portraits, while a narrow aperture suits landscapes. The interplay between aperture, shutter speed, and ISO determines proper exposure. Experimentation is key to understanding how these settings affect your final image.
Focusing the Minolta SRT 101
Achieving sharp focus with the Minolta SRT 101 relies on the manual focusing ring located on the lens. Look through the viewfinder and observe the focusing screen – typically a split-image or fine-matte pattern – to precisely align your subject.
The split-image focuses by bringing two offset images together into one unified view when your subject is in focus. Fine-matte screens offer a textured surface for easier visual assessment. Rotate the focusing ring until your subject appears sharpest on the focusing screen.
For accurate focusing, maintain a steady grip and use smooth, deliberate adjustments. Practice is essential! Consider using a tripod for increased stability, especially in low-light conditions. Remember that depth of field (controlled by the aperture) influences how much of the scene remains acceptably sharp around your focal point.
Using the Built-in Light Meter
The Minolta SRT 101 features a center-weighted, through-the-lens (TTL) light metering system. This means the meter reads the light reflecting off the scene as seen through the lens, providing relatively accurate exposure readings.
To activate the meter, gently half-press the shutter button. The viewfinder displays a needle that indicates whether the scene is underexposed (needle to the left), overexposed (needle to the right), or correctly exposed (needle centered). Adjust the aperture and shutter speed until the needle aligns with the center mark.
The meter operates on a battery (typically a PX28 or equivalent). A weak battery will result in inaccurate readings. Regularly check the battery’s condition. Remember that the meter responds to the light reflected from the scene, so strongly lit or dark subjects can influence the reading. Understanding exposure compensation (discussed later) is crucial for these situations.
Metering Modes Explained
The Minolta SRT 101 primarily utilizes a center-weighted averaging metering mode. This means the meter gives the greatest weight to the light measured in the center of the frame, gradually decreasing sensitivity towards the edges. It’s a versatile mode suitable for many common shooting scenarios.
Unlike modern cameras, the SRT 101 doesn’t offer selectable metering patterns like spot or matrix metering. The center-weighted approach is its standard operation. However, you can effectively mimic spot metering by carefully aiming the center of the viewfinder at a specific area of your subject and taking a reading.
Understanding this mode is key to accurate exposures. Scenes with high contrast – bright highlights and deep shadows – may require exposure compensation to prevent the meter from being fooled by either extreme. The center-weighted system prioritizes the central area, so composition significantly impacts the reading.
Exposure Compensation Techniques
Achieving correct exposure with the Minolta SRT 101 often requires understanding exposure compensation, especially in challenging lighting. Since the camera uses center-weighted metering, scenes with strong backlighting or significant contrast demand adjustment.
For backlit subjects, the meter tends to underexpose. To compensate, use the exposure compensation dial (if equipped on your model) or manually adjust the aperture. Increase the aperture (lower f-number) to allow more light in, brightening the image. Conversely, for predominantly bright scenes, overexposure is a risk; reduce the aperture (higher f-number).
A useful technique is the “Sunny 16” rule as a starting point. On a sunny day, use an aperture of f/16 and a shutter speed corresponding to the ISO setting. Then, adjust based on the scene’s specific conditions. Regularly check your results and refine your technique for consistently accurate exposures. Practice is key to mastering exposure compensation with this classic camera.

Self-Timer Operation
The Minolta SRT 101’s self-timer is a simple yet effective feature for self-portraits or situations requiring a delayed shutter release. Located near the shutter button, the self-timer lever initiates a countdown before the shutter fires, typically around 10 seconds.
To activate, gently move the self-timer lever to the “B” or “T” position, then fully press the shutter button. A red lamp illuminates, indicating the timer is active. Avoid obstructing the lens during the countdown. The shutter will release automatically once the timer expires.
Ensure the camera is stable on a tripod when using the self-timer to prevent blur. For group shots, allow sufficient time for everyone to enter the frame before pressing the shutter. Remember to return the self-timer lever to its original position after use, otherwise the shutter won’t function normally. Practice a few test runs to get comfortable with the timing.
Using External Flash with the SRT 101
The Minolta SRT 101 offers compatibility with a range of external flash units, expanding your lighting options beyond the built-in capabilities. A standard hot shoe on top of the camera allows for easy attachment of compatible flashes.
To use an external flash, ensure it’s securely mounted on the hot shoe. The SRT 101 supports both automatic and manual flash modes. For automatic modes, the flash communicates with the camera to determine proper exposure. Manual mode requires setting the flash power independently.

When using flash, consider the flash sync speed of the SRT 101, typically around 1/60th of a second. Exceeding this speed can result in partially darkened images. Utilize a flash bracket for off-camera flash positioning, enabling creative lighting angles. Always check flash unit’s manual for specific instructions and compatibility details.
Troubleshooting Common Issues
Encountering problems with your Minolta SRT 101? Several common issues have straightforward solutions. If the shutter doesn’t fire, check the battery in the light meter – a weak battery can prevent operation. Ensure the film is loaded correctly and the advance lever is fully engaged.
If images are consistently over or underexposed, double-check your exposure settings and consider using exposure compensation. A hazy viewfinder can indicate a need for cleaning. If the light meter appears inaccurate, verify the ISO setting is correct.
Sticky shutter curtains can often be resolved with careful cleaning, but avoid attempting complex repairs yourself. Refer to service manuals or seek professional assistance for more serious malfunctions. Online resources, like camera manuals.org, offer valuable troubleshooting tips and repair information. Remember to handle the camera with care during any inspection or cleaning process.
Minolta SRT 101 Repair Manual Resources
For those comfortable with camera repair, or seeking detailed technical information, several resources offer Minolta SRT 101 repair manuals. Acuravigorclub.com hosts a service manual in PDF format, providing in-depth schematics and repair procedures. Cameramanuals.org also provides access to various Minolta manuals, including potentially helpful supplementary materials.
Additionally, resources exist for related Minolta models like the SRT 102 and XK series, which may share similar components or repair techniques. These can be valuable references when tackling more complex issues. Be aware that repair manuals often assume a degree of technical expertise.
Always exercise caution when attempting self-repair, and consider the potential for causing further damage. If unsure, seeking a qualified camera technician is highly recommended. Remember to download and save these resources for future reference, ensuring you have access to vital information when needed.
Available Lenses for the SRT 101 System
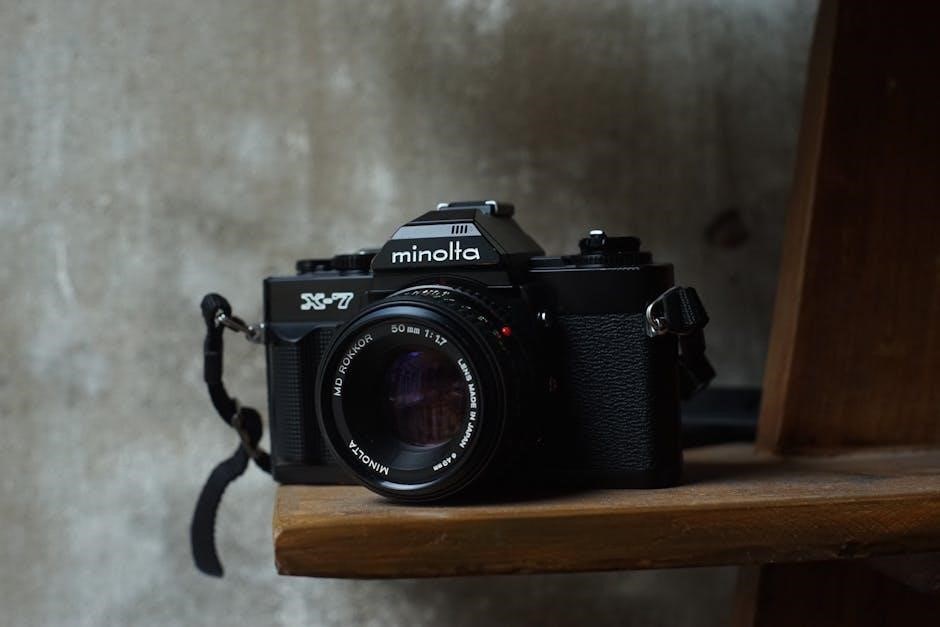
The Minolta SRT 101 utilizes the MC/MD lens mount, offering a vast selection of compatible lenses. This system boasts a rich history, resulting in numerous high-quality options available on the used market. From wide-angle to telephoto, and standard primes, photographers have a diverse range to choose from.
Popular choices include the Minolta Rokkor lenses, renowned for their sharpness and character. These lenses are often highly sought after by collectors and enthusiasts. Beyond the Rokkor series, many other MC/MD lenses provide excellent performance at various price points.
Resources like online forums and camera equipment websites can assist in identifying compatible lenses and assessing their condition. PDF files detailing individual lens specifications may also be available. Exploring these options allows photographers to expand the SRT 101’s capabilities and tailor it to their specific needs.
Care and Maintenance of Your SRT 101
Preserving your Minolta SRT 101 requires regular care to ensure its longevity and optimal performance. Gently clean the camera body with a soft, dry cloth to remove dust and fingerprints. Avoid using harsh chemicals or solvents, as these can damage the finish.
The lens should be cleaned with a lens brush and specialized lens cleaning solution. Regularly check the light seals for deterioration, as degraded seals can cause light leaks. Replacement seals are often available online.
Proper storage is crucial. Keep the camera in a dry, dust-free environment, ideally in a camera bag or case. Avoid exposing it to extreme temperatures or humidity. Periodic servicing by a qualified camera technician can address internal issues and maintain mechanical functionality. Refer to available service manuals for detailed repair information, if needed, to keep your SRT 101 functioning beautifully for years to come.
Resources and Further Information
Expanding your knowledge of the Minolta SRT 101 is readily achievable through numerous online resources. Camera Manuals.org provides downloadable owner’s manuals and service manuals in PDF format, including the SRT-101 and related models like the SRT 102 and XK series.
Websites like Acuravigorclub.com host service manuals offering detailed repair guidance. Online forums and communities dedicated to vintage cameras are invaluable for troubleshooting and sharing experiences. Explore resources for specific lenses compatible with the SRT 101 system.
The Wayback Machine preserves historical web pages, potentially offering access to older resources. Remember to search for information on light meter calibration and film loading techniques. Utilize these resources to fully understand and enjoy the capabilities of your classic Minolta SRT 101 camera, ensuring years of photographic enjoyment.